
The Process
The purpose for creating Chip at the Movies was to enhance my abilities as a designer and learn something new! All the skills that I learned are cumulative, so everything can be applied to helping anyone with a similar process.
I had a lot of fun using my creativity to create a fun way for others and myself to enjoy the world of iMessage.
Who I Made it For
Everyone! I think anyone who loves cartoons and that nostalgic movie-going experience would find this comical to use. Especially, if you and friends plan to go see a movie, it would be a resourceful collection of emoticons to use to express yourselves to the fullest.
• Everyone from Ages 1 to 100
• iPhone and iPad users
Adobe Illustrator
Where to start...
I really wanted to create a sticker pack that's not like the other mainstream meme culture. I love to try to be different, it's a great way to stand out amongst others.
I also wanted to ensure I understood what technical knowledge I would need to create my sticker pack. What I researched and uncovered was:
I also wanted to ensure I understood what technical knowledge I would need to create my sticker pack. What I researched and uncovered was:
• Animated sticker packs are a lot more popular versus static images
• File sizes are a maximum of 500k
• The most standard amount of stickers is about 24
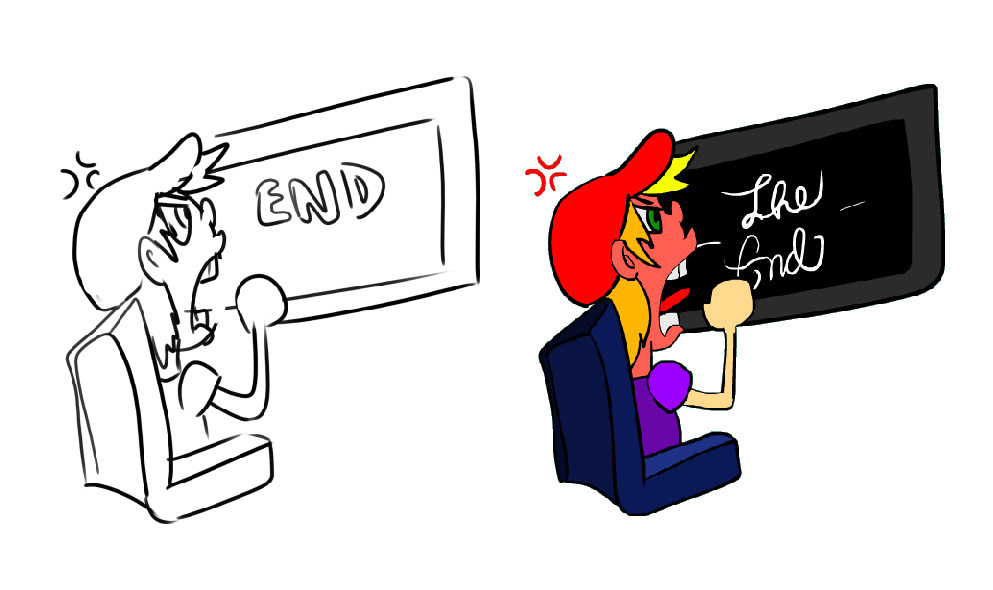
Inspirational Creation
Starting off I realized a few things: I'm used to the personal branding, logo creations, and illustration. But I needed to draw a lot.
Even the most basic of emotions needed to have movement and expression, but also being able to express all of that within 1 second.
I entrusted the color wheel to help me in eye-popping colors (such as yellow and red) to attract Apple Store browsers to stop possibly to at least glance at my creation.
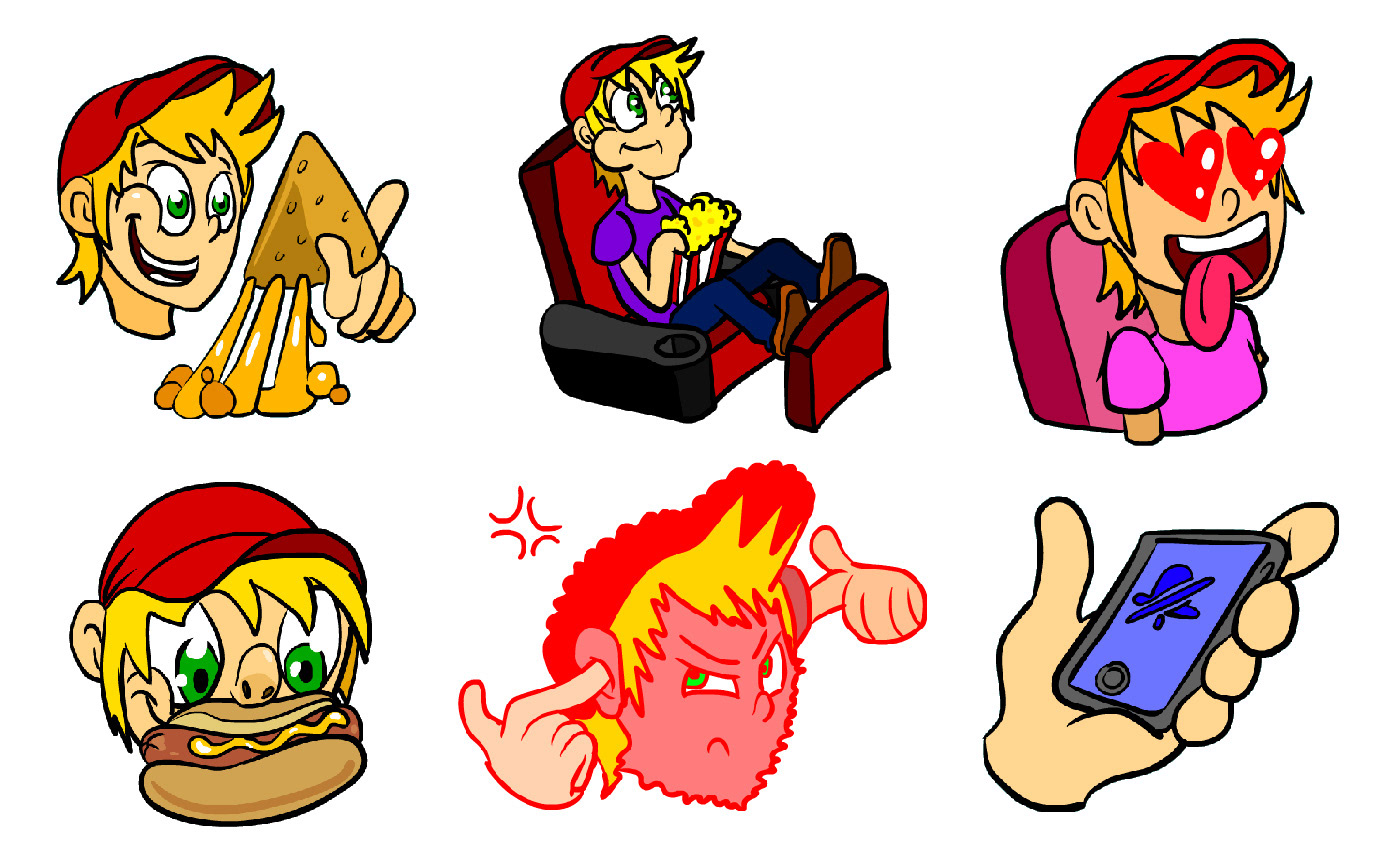
Animating with less effects, more stylization, and leaving things more cartoony helped keep the file size low and appealing in its own way.
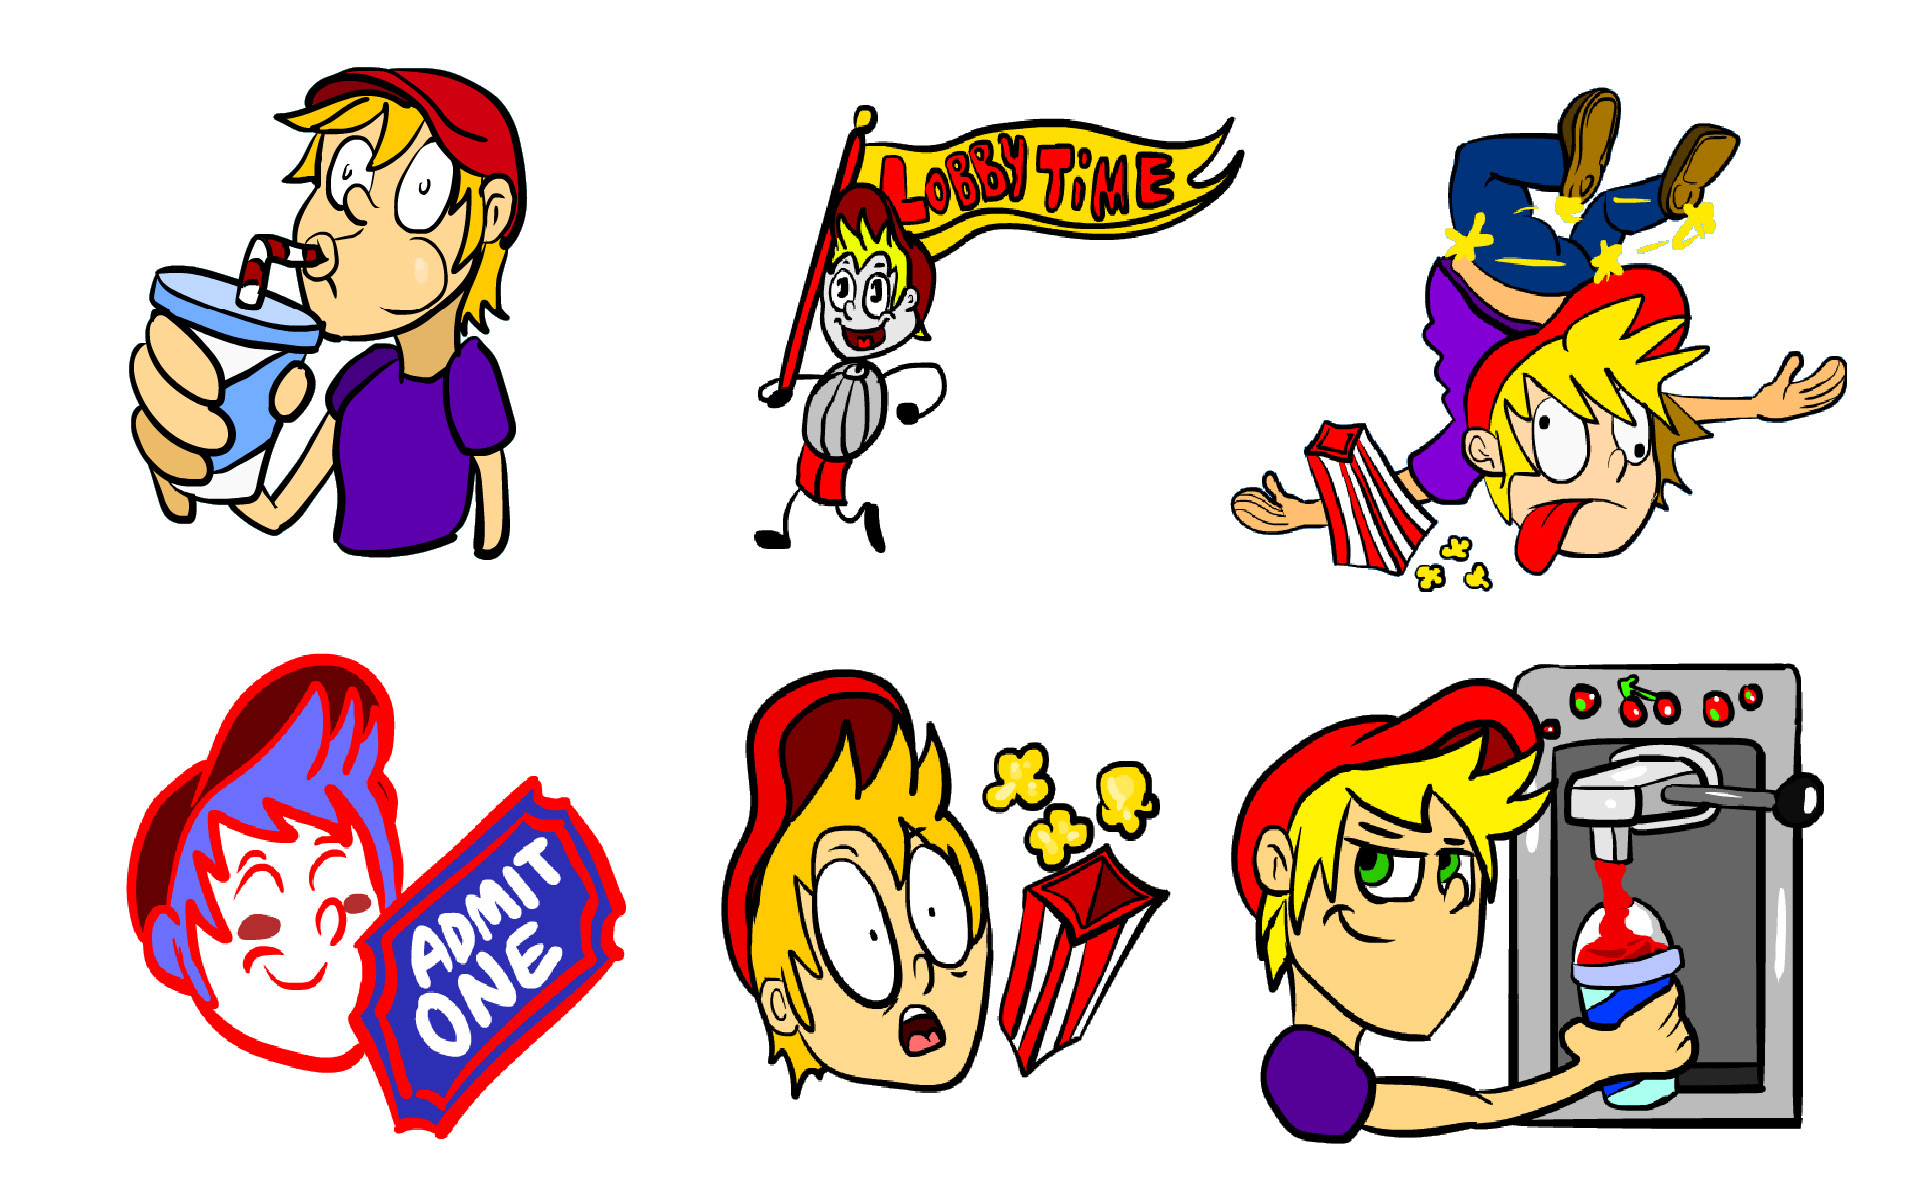
I created 24 total animated stickers, below are some static preview of a couple more.
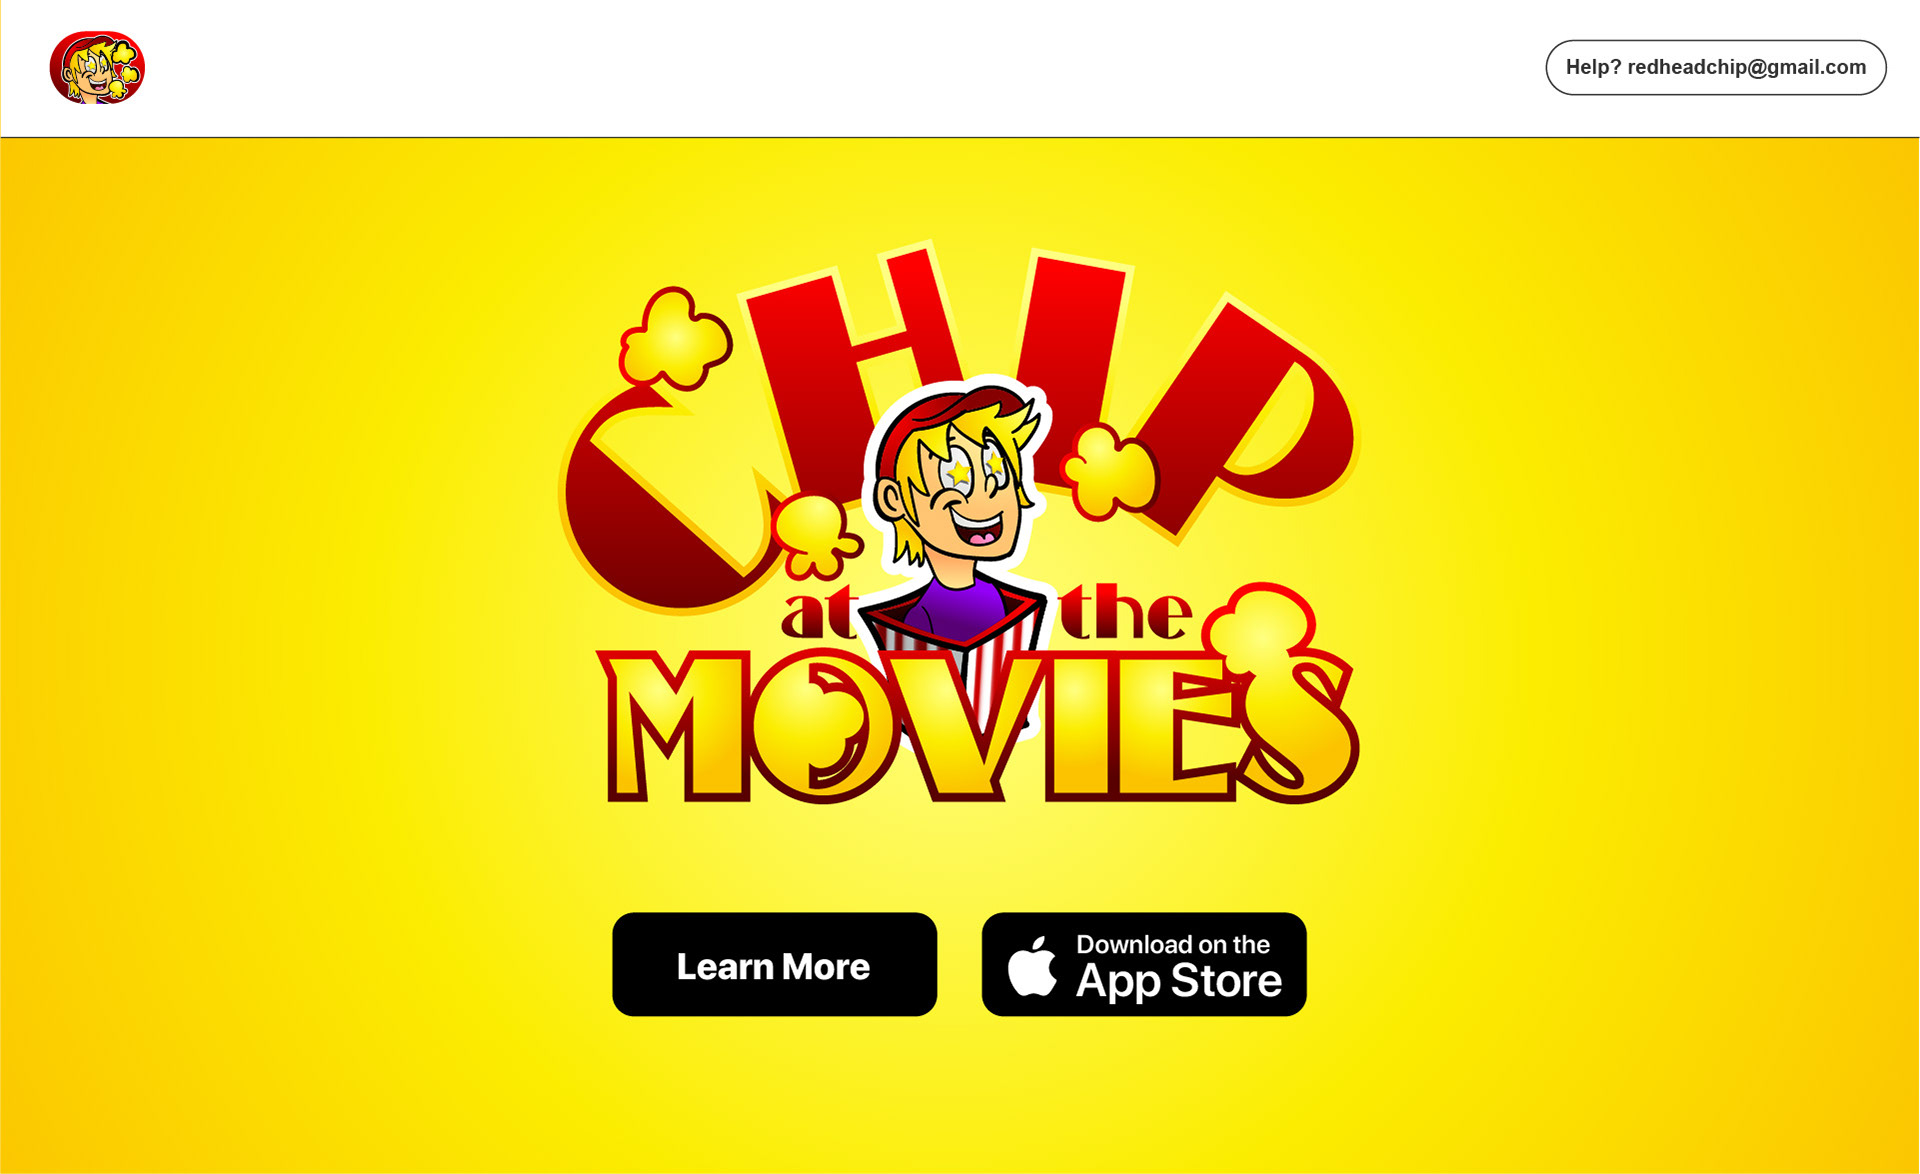
Key Visual & App icon
I felt the visual I would create needed to feel like a movie-going experience. Basing the visual as character popping out of a tub of popcorn felt very appropriate for the title.
I then cropped the visual and removed the text so that it could be modified at a smaller aspect ratio to become the app icon.

Animation
After creating sketches of my soon to be animated stickers, I imported my images into Adobe Animate. I found a smooth frame-by-frame animation speed of 24fps. That way, I could keep my animation about one second in length, and also under the 500kb file size.

408px by 408px, 1 Second loop at 24 FPS
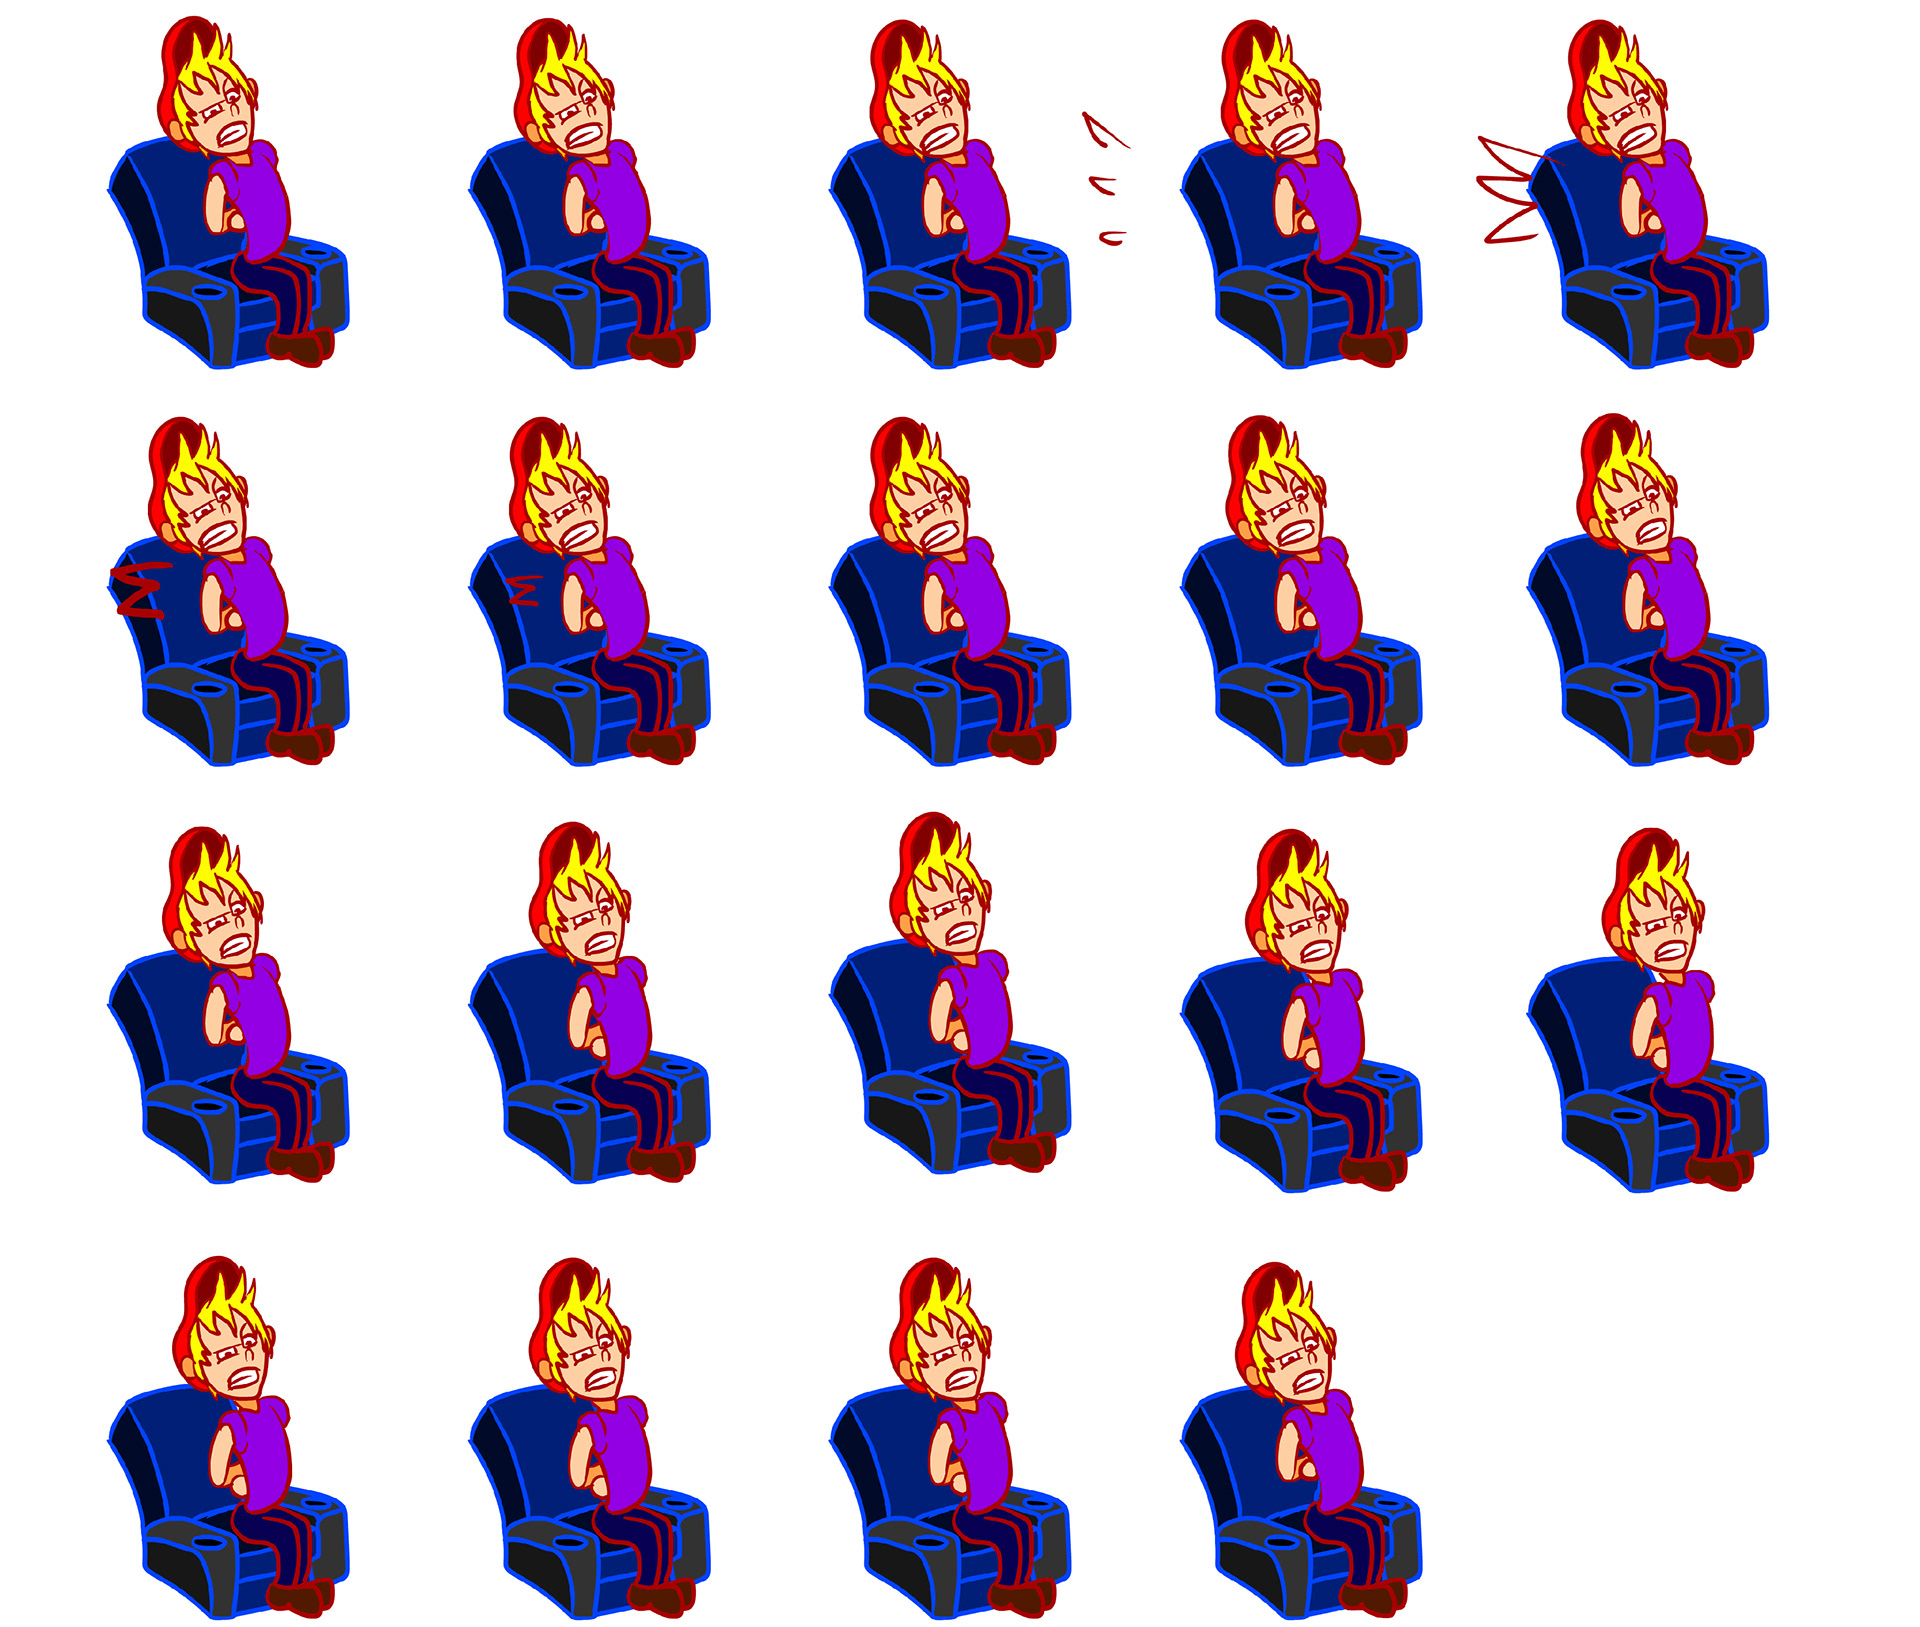
Individual keyframes of animated sticker
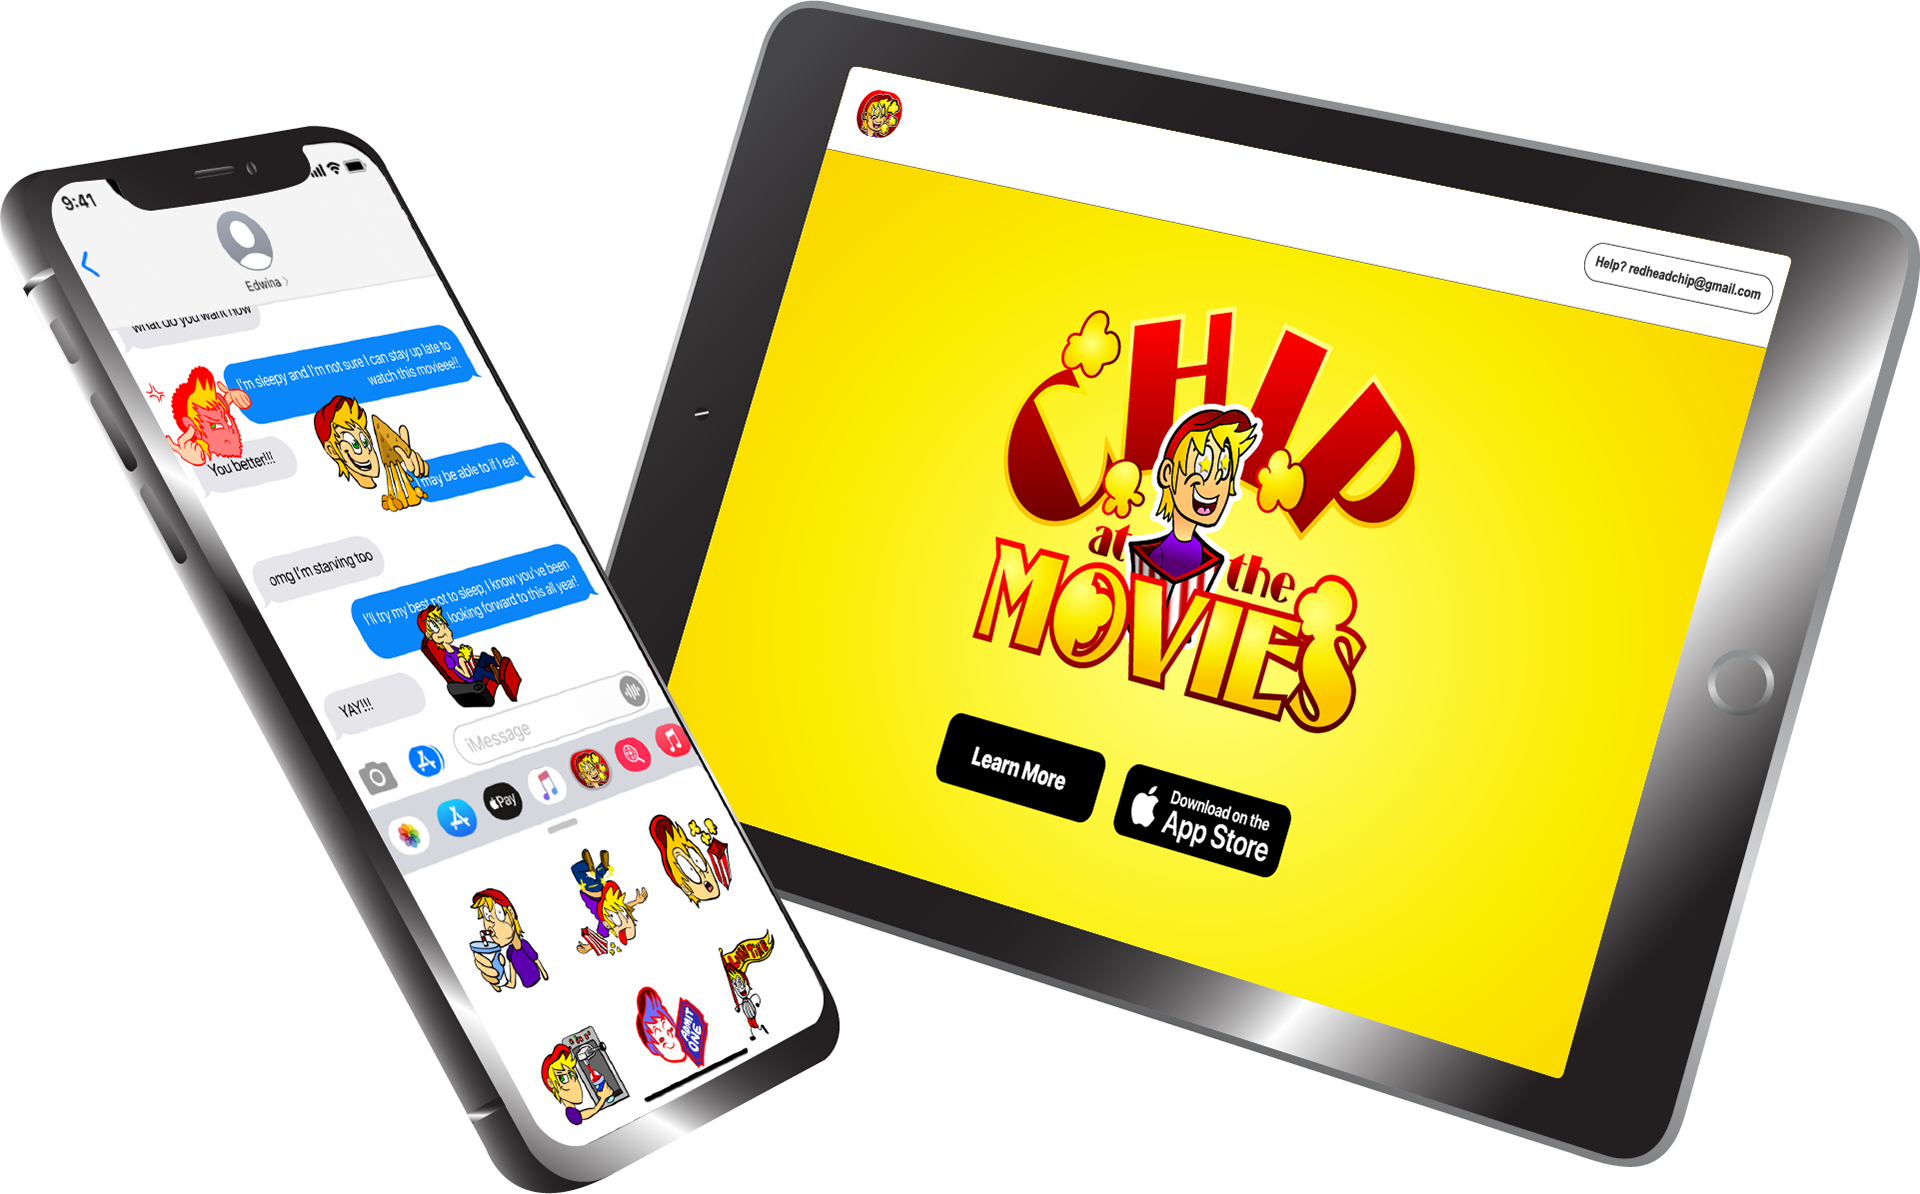
Promotional Preview
With everything completed, I decided the next best thing was to showcase the product page of the iOS Sticker Pack. Browse below to see the user interface mockup I created for the potential marketplace for the final product.
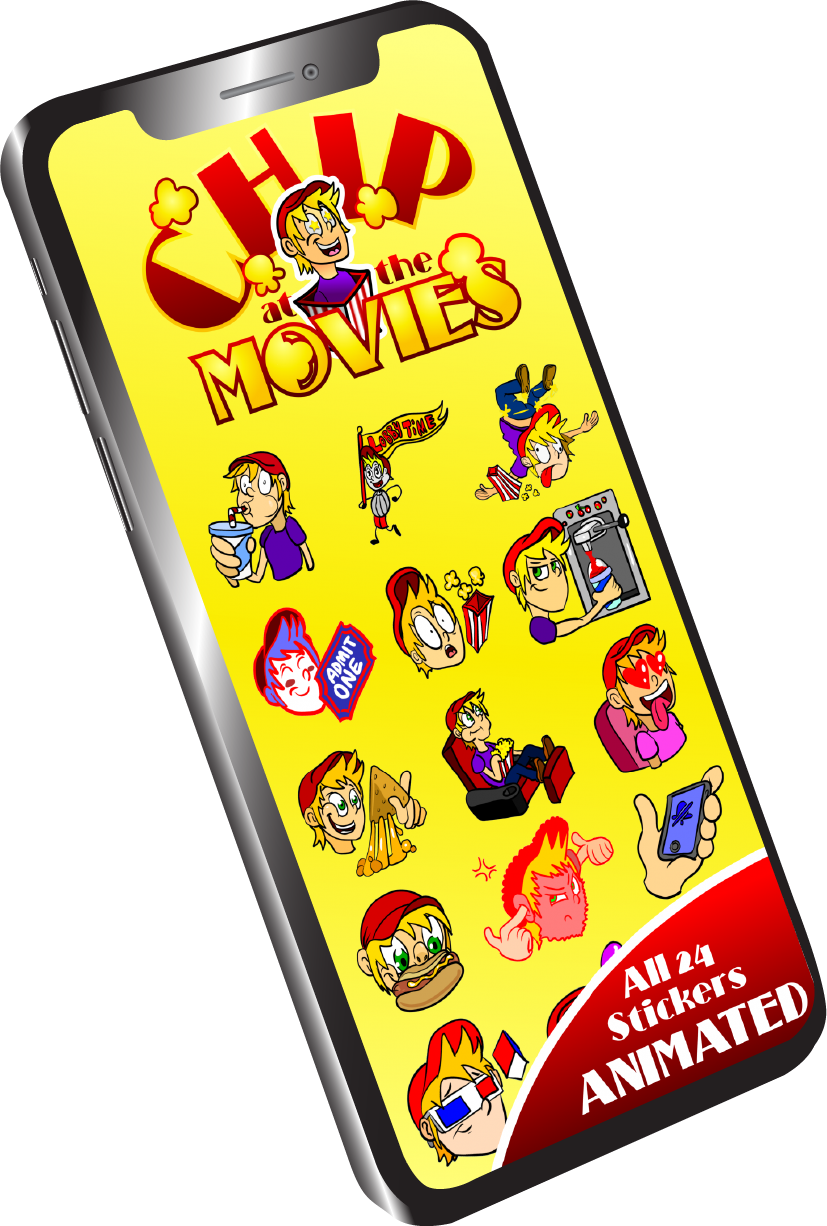


• The Full 24 Animated Stickers: